
Creating new accounts
Click on Add new user(s).
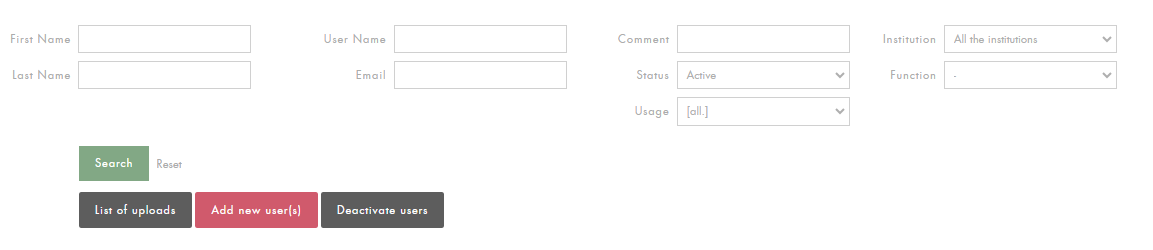
A new page loads which gives you two options:
Add new user
Add multiple users with the use of file
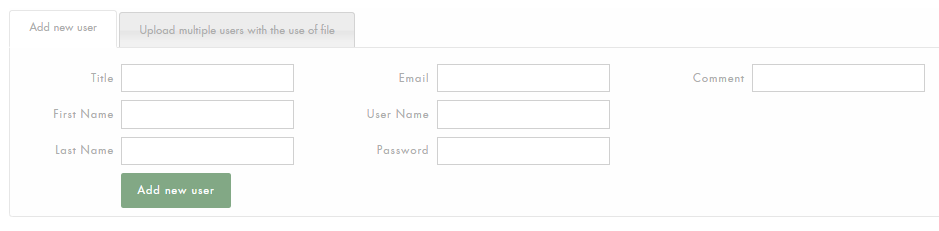
Add new user
Select the function and institution of the user account you are creating
Fill in the different fields with the user's information: title, first name, last name and email address
If you already have a username and password (e.g. student directory), you can enter this information in the Username and Password fields. If you leave these fields empty, a username and password will automatically be created.
The Comment field is optional, you can add a note for the user account or leave it empty.
Click on Add new user to confirm the creation of the user account. All accounts you create using this method will automatically be Active.
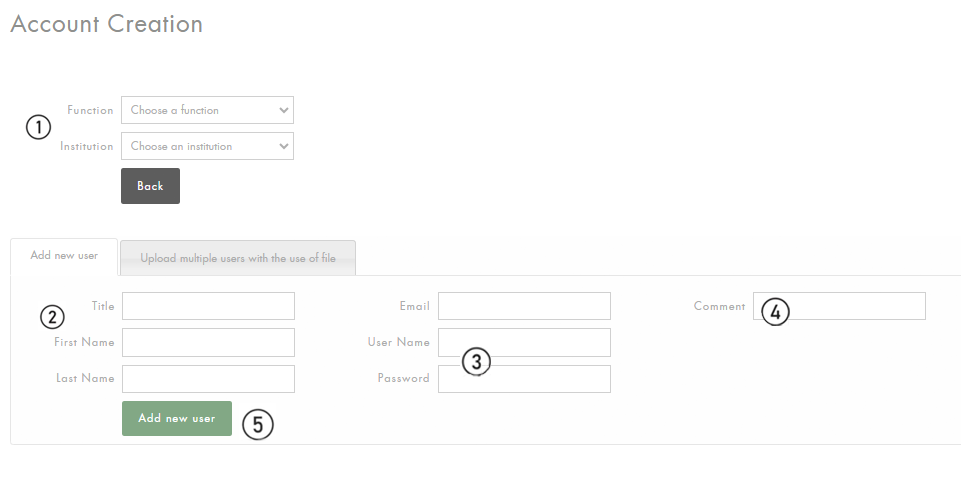
Adding multiple users with the use of file
This tool allows you to create several accounts for the same function (student, administration, subscriber, etc.). If you want to create accounts for different functions, you will have to repeat the following steps for each function.
Download the MS Excel template by clicking on Download template and save the file on your computer. Do not change the order of the columns or add sheets to the file.
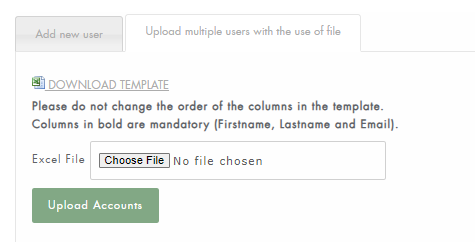
Add to the file all the information for the accounts you want to create:
Columns in bold are mandatory: FirstName, LastName, and Email. You can also add the title: Sir, Mrs. or Miss, and/or a comment.
If you already have a username and password (e.g. student directory), you can enter this information in the Username and Password fields. If you leave these fields empty, a username and password will automatically be created.
When you have finished editing the file, save it on your computer and return to the Account creation page where you downloaded the file.
Select the function and institution of the user accounts you are creating.
Click on Choose File and select the file saved on your computer. Then click on Upload Accounts to start the account creation process.
Account creation success
If your file was successfully uploaded, you will see the following message:

If you click on Back you will be redirected to a page containing the list of all uploaded files and their processing status (voir la page List of uploads).
Account creation error
If there are errors in the account creation file, you will see the following error report:
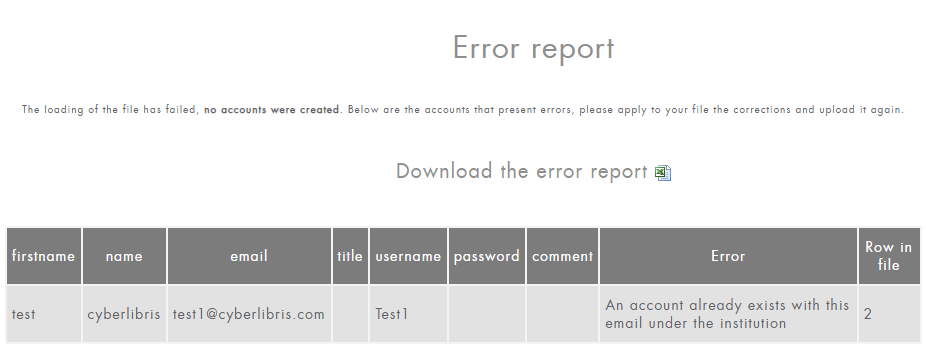

No accounts are created if there are errors in the file.
The report shows you the different errors and the corresponding row in the loaded MS Excel file. Apply the corrections to your account creation file, save it and upload it again on the Account creation page. If your file has many errors we advise you to save the error report by clicking on the Download the error report link.

For each account created, allow 24 hours for it to be activated on our services. If this is not the case, please contact us at info@cyberlibris.com